
Another of this last summer’s principal projects has been restarting work on the main building. After the salutary lesson of the badly-built balcony and trellis, this time there would be no short cuts. We started taking apart the roof of the balcony back in spring to reuse the roof tiles on the wee house roof extension, and as work continued there on the toilet and battery house, we frequently raided the balcony for pieces of chestnut timber for floor and roof joists and for pine planking. So when it was finally time to demolish the balcony at the end of May, there wasn’t a whole lot left to take down.


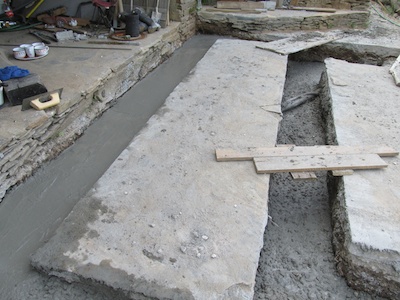
The patio beneath the balcony, being just a thin layer of schist slabs in a concrete bed, had to be cut in order to dig proper foundations. This would be a fairly quick task, we thought – bedrock on the quinta is never much more than a metre below the surface and mostly much less, and with the back wall and floor of the building being cut out of solid rock, we were sure we wouldn’t have far to dig.
Wrong!


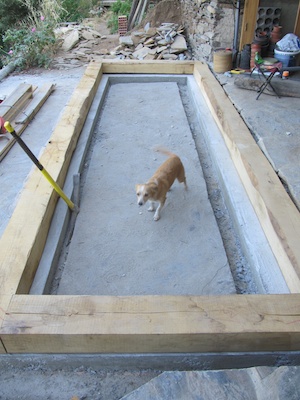
We ended up with over a metre’s depth at the back and nigh on 2m at the terrace edge before we hit solid rock, well below the modest lumps of concrete put in to support the balcony structure (which you can see in the image above). 2m foundations for a greenhouse? Ah, but this will be no ordinary greenhouse …

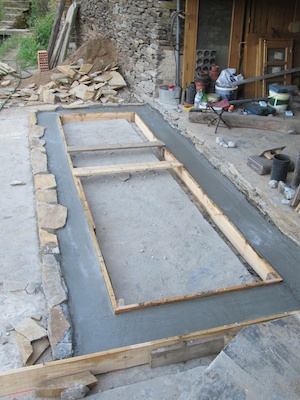
Rebar matrix for the concrete ring beam
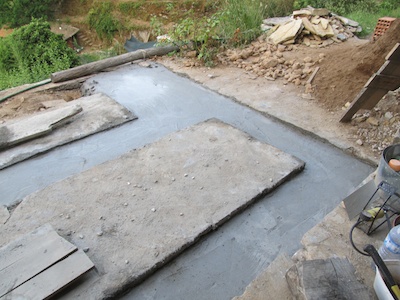
The day of the big pour
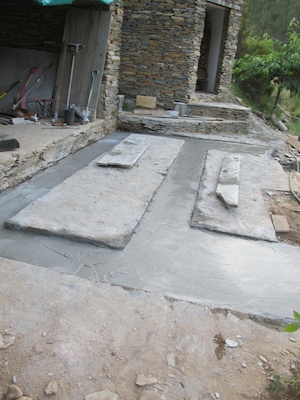
Much as I dislike using concrete, it’s the material for the job in this instance. The soil beneath the patio is soft topsoil. When the footings extend to a 2m high dry-stone terrace wall edge with further precipitous drops below, nothing else practical and affordable has the strength and rigidity for the purpose. These foundations won’t be going anywhere.


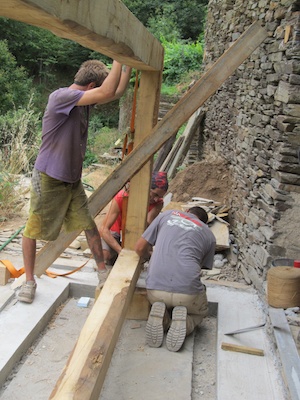
While we were busy with the foundations, Rick – who’s single-handedly building his own timber-framed house in a valley opposite ours – was cutting the lengths and joints for the timber frame.


The timber ring beam was laid in place to check for size and placing, then raised while the joints were pegged, then relaid on a damp-proof membrane.

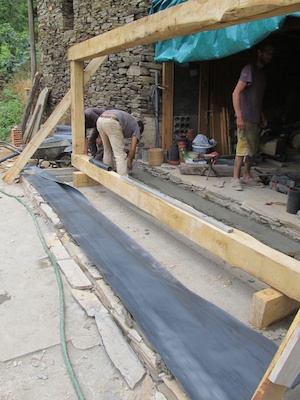

This addition to the building is around a third of the depth of the room behind it, which will be a kitchen. The entire area enclosed within the ring beam will become a growing bed for grey water processing. Once we’ve completed the timber frame, the remaining patio inside the area will be removed and replaced with soil. Grey water from the building will empty into it through a series of perforated pipes embedded in gravel and I intend to grow year-round salad vegetables and some of the more tropical plants which can’t survive our winter frosts outside. I’m thinking bananas …
With this first stage of construction complete, the next was to erect the framework.
karina December 7, 2013
My god, that timber frame must have weighed a ton! :) What a great job, Wendy!
Quinta do Vale December 7, 2013
Several tons. As will be clear in the next instalment … whenever I manage to get it written … :-)